When you develop a C++ project and you want to use the Chrono API, you need to:
- include the necessary .h headers at compile time;
- link the necessary .lib libraries at link time;
- dynamically link the necessary .dll libraries at run time.
as shown below:

This process can be made almost automatic if you use CMake for building your program, see below.
1) Check prerequisites:
- CMake must be already installed on your computer.
- Chrono must be already installed and built on your computer, as explained here.
2) Create the project directory
- Copy the
template_projectdirectory to some place and rename it as you like. For example copy fromC:\workspace\chrono\template_projecttoC:\workspace\my_project
This will be the directory where you put your source code.
3) Edit the CMake script
- In the template directory there is already a CMakeLists.txt script. It will be used by CMake. Optionally you might edit it, see below.
Cascade, Cosimulation, FSI, Granular, Irrlicht, Matlab, MKL, MUMPS, OpenGL, Parallel, Postprocess, Python, Vehicle. The syntax is case insensitive (in other words, any of OpenGL, OPENGL, or opengl are valid component names). Note also that Chrono modules can be listed as required (after the
COMPONENTS option) or as optional (after OPTIONAL_COMPONENTS) as in the example below: ChConfig.h (CHRONO_IRRLICHT, CHRONO_POSTPROCESS, etc) which are defined for enabled modules. For more details, see the CMake documentation for
find_package and its "Config Mode". add_executable(myexe my_example.cpp) into
add_executable(myexe my_simulator.cpp)add_executable(myexe my_simulator.cpp my_foo_source.cpp my_bar_source.cpp) _ENABLE_EXTENDED_ALIGNED_STORAGE. 4) Start CMake
- Start the CMake GUI
- Use Browse source... by setting the source directory that you created, e.g.
C:/workspace/my_project - Use Browse build... by setting a new empty directory for the output project, e.g.
C:/workspace/my_project_build
5) Configure
- Press the Configure button in CMake
- When prompted to pick a generator, select the same compiler that you used to compile Chrono;
- Important: set the
Chrono_DIRvariable. This is the cmake directory that you find in the directory where you built Chrono. In our example it isC:/workspace/chrono_build/cmake - Press the Configure button again

6) Generate the project
- Press the Generate button in CMake. A project will be created in the build directory. In our example you will find it in
C:/workspace/my_project_build
7) Compile the project
If you used a Visual Studio generator in CMake,
- Open the solution in Visual Studio editor (in our example double click on
C:\workspace\my_project_build\my_project.sln) - Change from Debug to Release mode, using the drop-down list in the toolbar of VisualStudio
- Use the menu Build > Build solution... to compile and link.
If you used a Unix makefile generator in CMake (ex. in Linux), you can open a shell, cd into the build directory and call make:
8) Run your program
By default all binaries (ex. myexe.exe) of your project will go into your build directory, in our example C:\workspace\my_project_build\Release (or C:\workspace\my_project_build\Debug if you decided to compile in Debug mode).
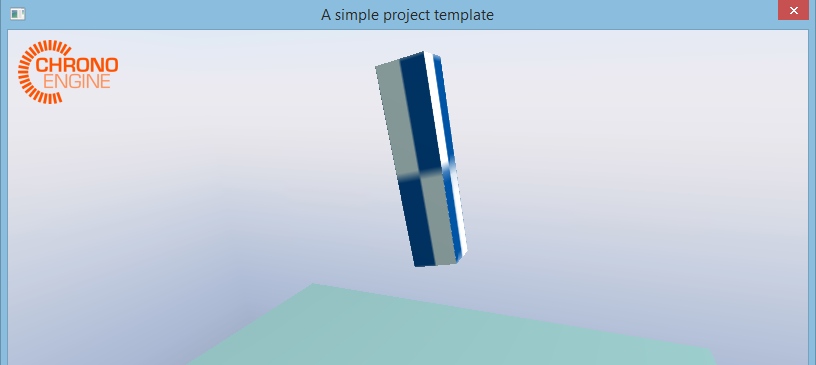
Double click on the .exe file and you should see the demo running in an interactive 3D view 
Important information for Windows users
If you are a Windows users, your project executables need to know where to find the Chrono shared libraries (i.e. those with .dll extension), otherwise they will crash as soon as you try to run them.
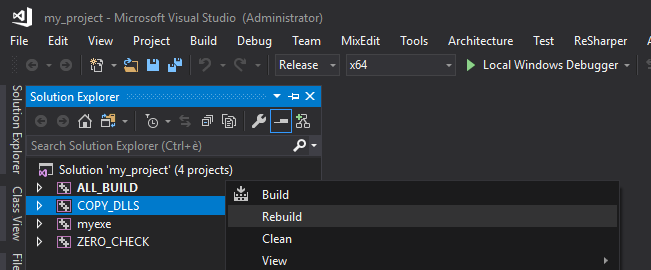
To make things simple, we added an auxiliary CMake target (namely COPY_DLLS) that makes a copy of the Chrono DLLs (as well as other DLL dependencies such as the Irrlicht shared library, as appropriate) in the project binaries folder (e.g. C:\workspace\my_project_build\Release). There are two different scenarios:
Chrono_DIRis a build folder; if you followed our installation guide thenC:/workspace/chrono_buildis of this type; in this case you may have both Release and Debug version of Chrono (underC:/workspace/chrono_build/bin); if both are present, please mind that only Release libraries will be copied; if you want to run your project in Debug configuration then you have to manually copy the Debug libraries contained inC:/workspace/chrono_build/bin/DebugintoC:/workspace/my_project_build/Debug;Chrono_DIRis an install folder; this is the folder type that is created by building theINSTALLtarget; this folder is usuallyC:/Program Files/Chronoand contains either Debug or Release libraries, depending on the configuration that you set when you built theINSTALLtarget.

