This is an optional module that adds Python support in Chrono.
Features
The PYTHON module allows users to use Python
for creating simulations. As with any scripting language, this allows for immediate execution, no compilers involved, simple to use, etc. This module is used to build the PyChrono wrapper.
This module consists of two main sets of build targets:
- The Python modules for PyChrono. Currently, the PyChrono Python modules that are built are:
- pychrono, which wraps most Chrono classes, equivalent to the chrono namespace
- pychrono.fea, which wraps FEA classes, equivalent to the chrono::fea namespace.
- pychrono.postprocess, which wraps the POSTPROCESS module.
- pychrono.irrlicht, which wraps the IRRLICHT module.
- pychrono.pardisomkl, which wraps the Pardiso MKL module.
- pychrono.cascade, which wraps the CASCADE module (doesn't work on the Mac).
- A PYPARSER module, which is a C++ module for parsing / executing / interpreting Python instructions from C++ programs.
Requirements
- To run applications based on this module:
- you must have Python installed. On the Mac type
brew install pythonto get python3. The preinstalled python(2) doesn't work with pychrono.
- you must have Python installed. On the Mac type
- To build this module:
Building instructions
- Install SWIG on your system. Version 3.0.12 or higher is required. (on Windows, just unzip where you want).
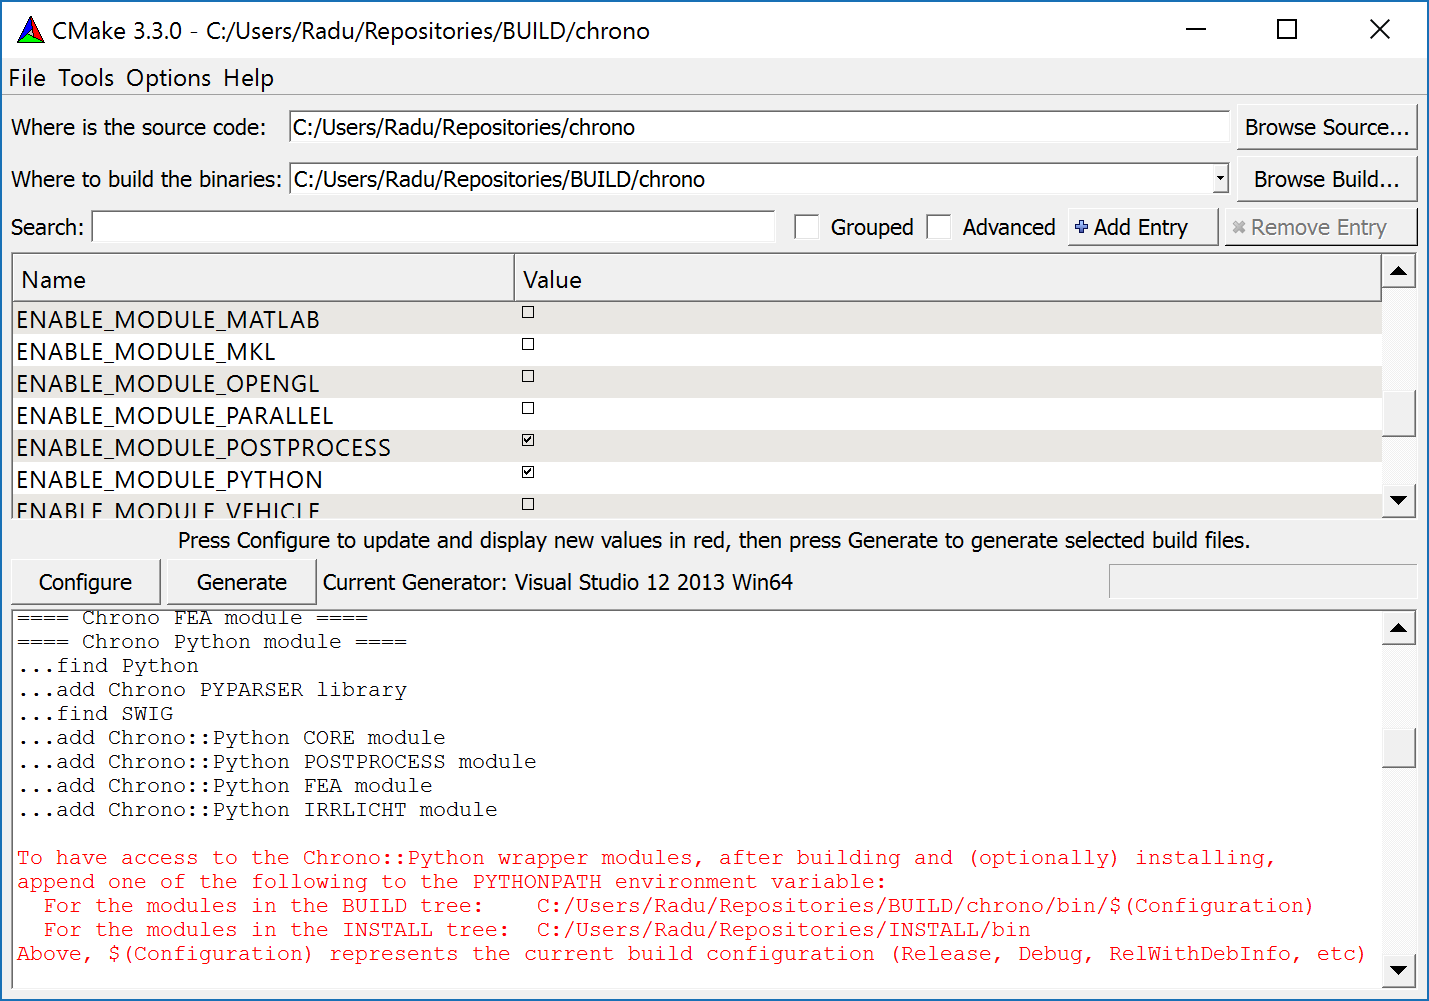
- Repeat the instructions for the full installation, but when you see the CMake window, you must add the following steps:
- Set the
ENABLE_MODULE_PYTHONas 'on', then press 'Configure' (to refresh the variable list) - If prompted, set the
CH_PYTHONDIRvariable to the directory where you have your copy of Python. For example, it could beC:/Python33 - When you pressed 'Configure', CMake should have detected your SWIG tools. This should create two variables in CMake called
SWIG_DIRandSWIG_EXECUTABLE. If all is fine, they should automatically contain meaningful values, for exampleC:/swigwin-3.0.12/LibandC:/swigwin-3.0.12/swig.exe, so you do not need to touch them. (On Windows, you may need to set them by hand). - Press 'Configure' again, then 'Generate', and proceed as usual in the installation instructions.
If you have multiple Python installations on the same machine, you may need to explicitly specify which one to use in the call to CMake. For example, under Linux (Mac is similar to Linux):
% ccmake -DPYTHON_EXECUTABLE:FILEPATH=/usr/local/python/3.6.0/bin/python3
  -DPYTHON_LIBRARY=/usr/local/python/3.6.0/lib/libpython3.so
  -DPYTHON_INCLUDE_DIR=/usr/local/python/3.6.0/include
  ../../chrono
On the Mac:
% ccmake -DPYTHON_EXECUTABLE:FILEPATH=$(which python3) ../../chrono
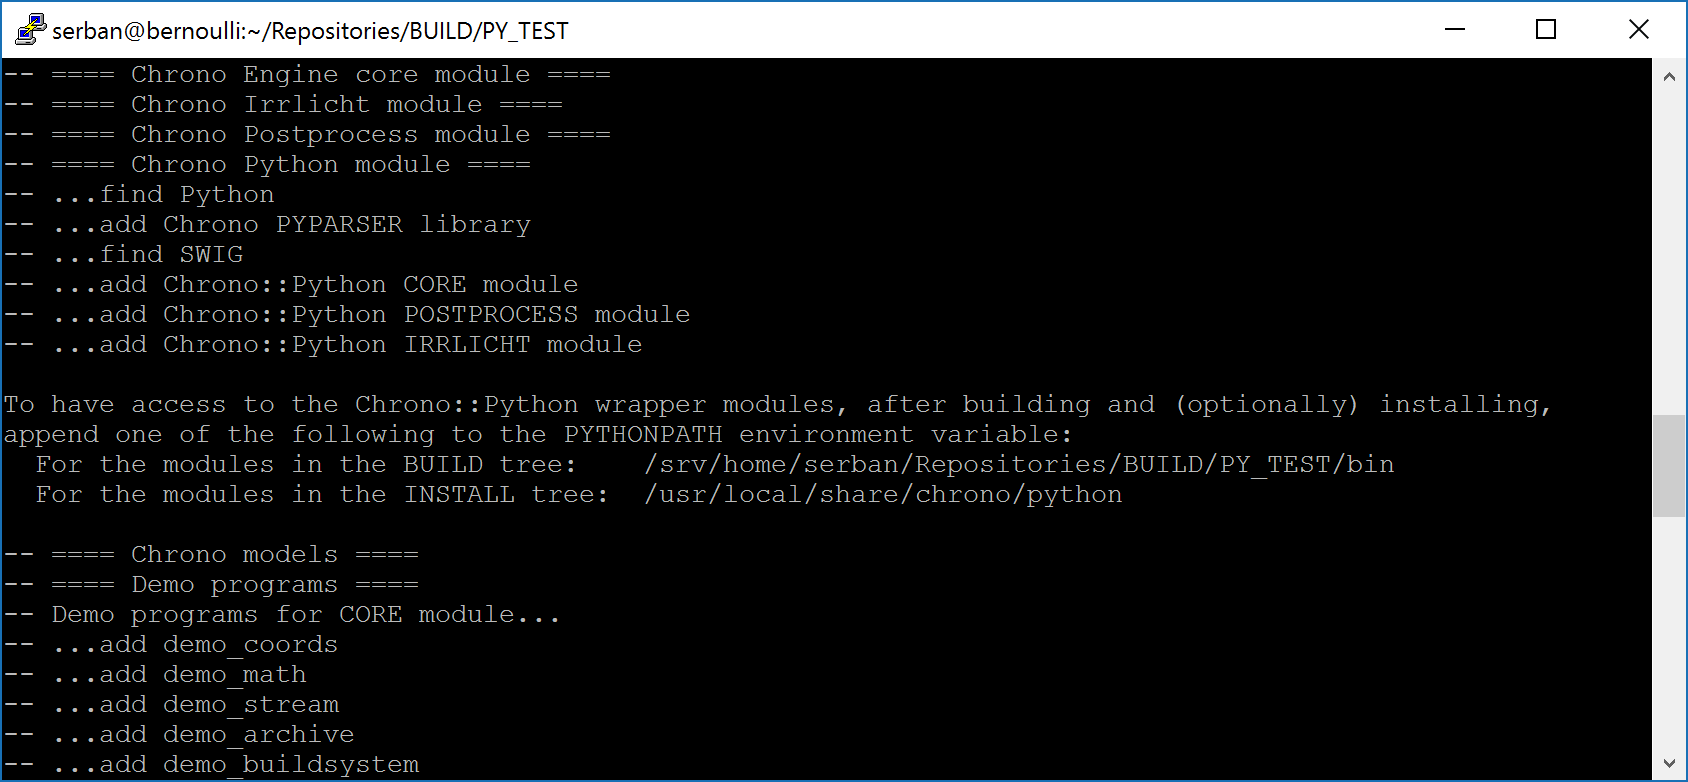
After successful compilation, the PyChrono modules can be used either from the BUILD tree or, after installation, from the INSTALL tree. In order for the generated Python modules to be accessible, you must set/append to the PYTHONPATH environment variable. During configuration, the Chrono CMake script will output the proper paths to be used in setting the PYTHONPATH environment variables; for example:
- Windows:

- Linux:

Setting/changing environment variables is platform-specific.
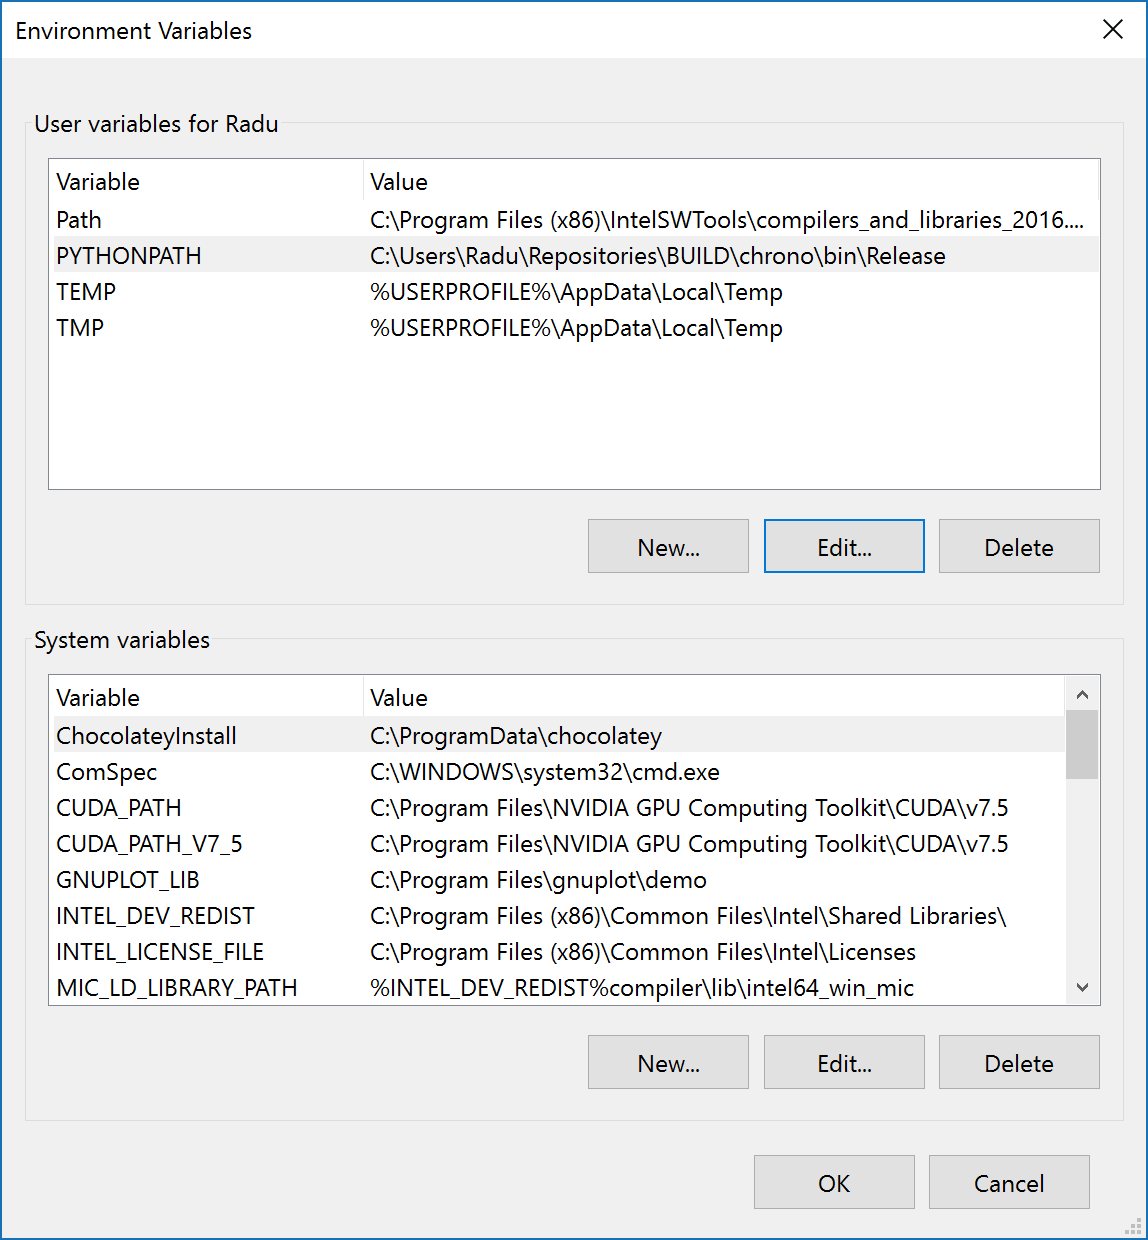
- On Windows, you can (globally) set environment variables in 'Control Panel -> System -> Advanced system settings':

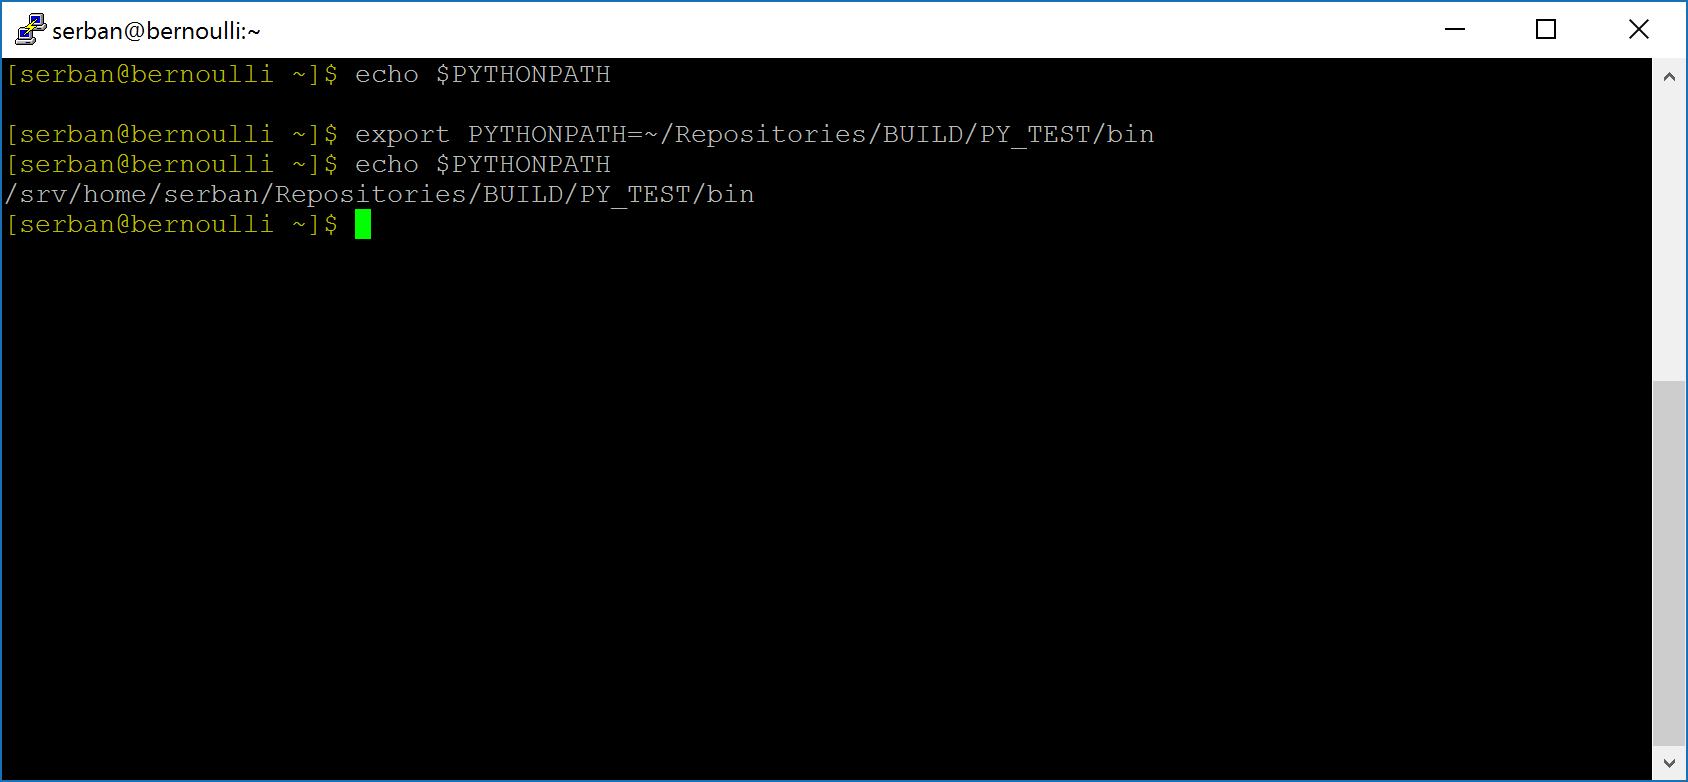
- On Linux, using bash shell:

To permanently setPYTHONPATH, you can add the above to your .bashrc file (or the appropriate initialization file for your shell).
Usage
For more details on how to use the resulting modules, look here:
- C++ functions (as Python parser)
- Look at the API section of this module for documentation about C++ functions.
- Look at the C++ source of demos to learn how to use the C++ functions of this module.
- Python functions (as PyChrono )
Notes
The build process of the Python modules, as generated by CMake, consists of these automatic steps:
- SWIG preprocesses C++ source code files in order to generate a .cxx wrapper file that contains the code for accessing C++ functions through the API, and some .py files,
- the C++ compiler compiles the .cxx file and generates one or more library files,
- the SWIG-generated files (*.py) and resulting library files (*.pyd on Windows and *.so on Linux/Mac) are collected in a single location in the BUILD tree, so that they can be used directly from there. Similarly, after installation, all Chrono::Python modules are copied in a single location in the INSTALL tree. See the comments above about these exact locations for your particular configuration and about setting the
PYTHONPATHenvironment variable.
- Comment out the line: //#define Py_DEBUG
- Modify to#if defined(_DEBUG)#pragma comment(lib,"python33_d.lib")#if defined(_DEBUG)#pragma comment(lib,"python33.lib")
- Press 'Advanced' in CMake, set the PYTHON_DEBUG_LIBRARY to the same lib that you have in PYTHON_LIBRARY, and press 'Generate' so that your project will link 'python33.lib' instead than 'python33_d.lib'.
