Table of Contents
Chrono::Vehicle provides visualization support both for run-time interactive simulations, as well as for high-quality post-processing rendering for generating animations. Currently, run-time simulation support expands on the underlying Chrono::Irrlicht module for sequential simulations or the more computationally efficient but more limited Chrono::OpenGL module for parallel simulations involving large-scale granular terrain representations. Support for ray-traced renderings of individual simulation frames is offered through utility functions that can be called from within the simulation loop to export data files with current visualization assets information and a POV-Ray script that can batch-process these files to generate frame images.
Irrlicht-based run-time visualization
The vehicle Irrlicht-based run-time visualization uses the customized Irrlicht applications ChWheeledVehicleIrrApp and ChTrackedVehicleIrrApp for wheeled and tracked vehicles, respectively.
These are extensions of the base ChIrrApp application to allow:
- rendering in the default Chrono::Vehicle Z-up ISO reference frame (note that, because Irrlicht uses left-handed frames, renderings are mirrored left/right)
- using a vehicle-centric camera location (point of view)
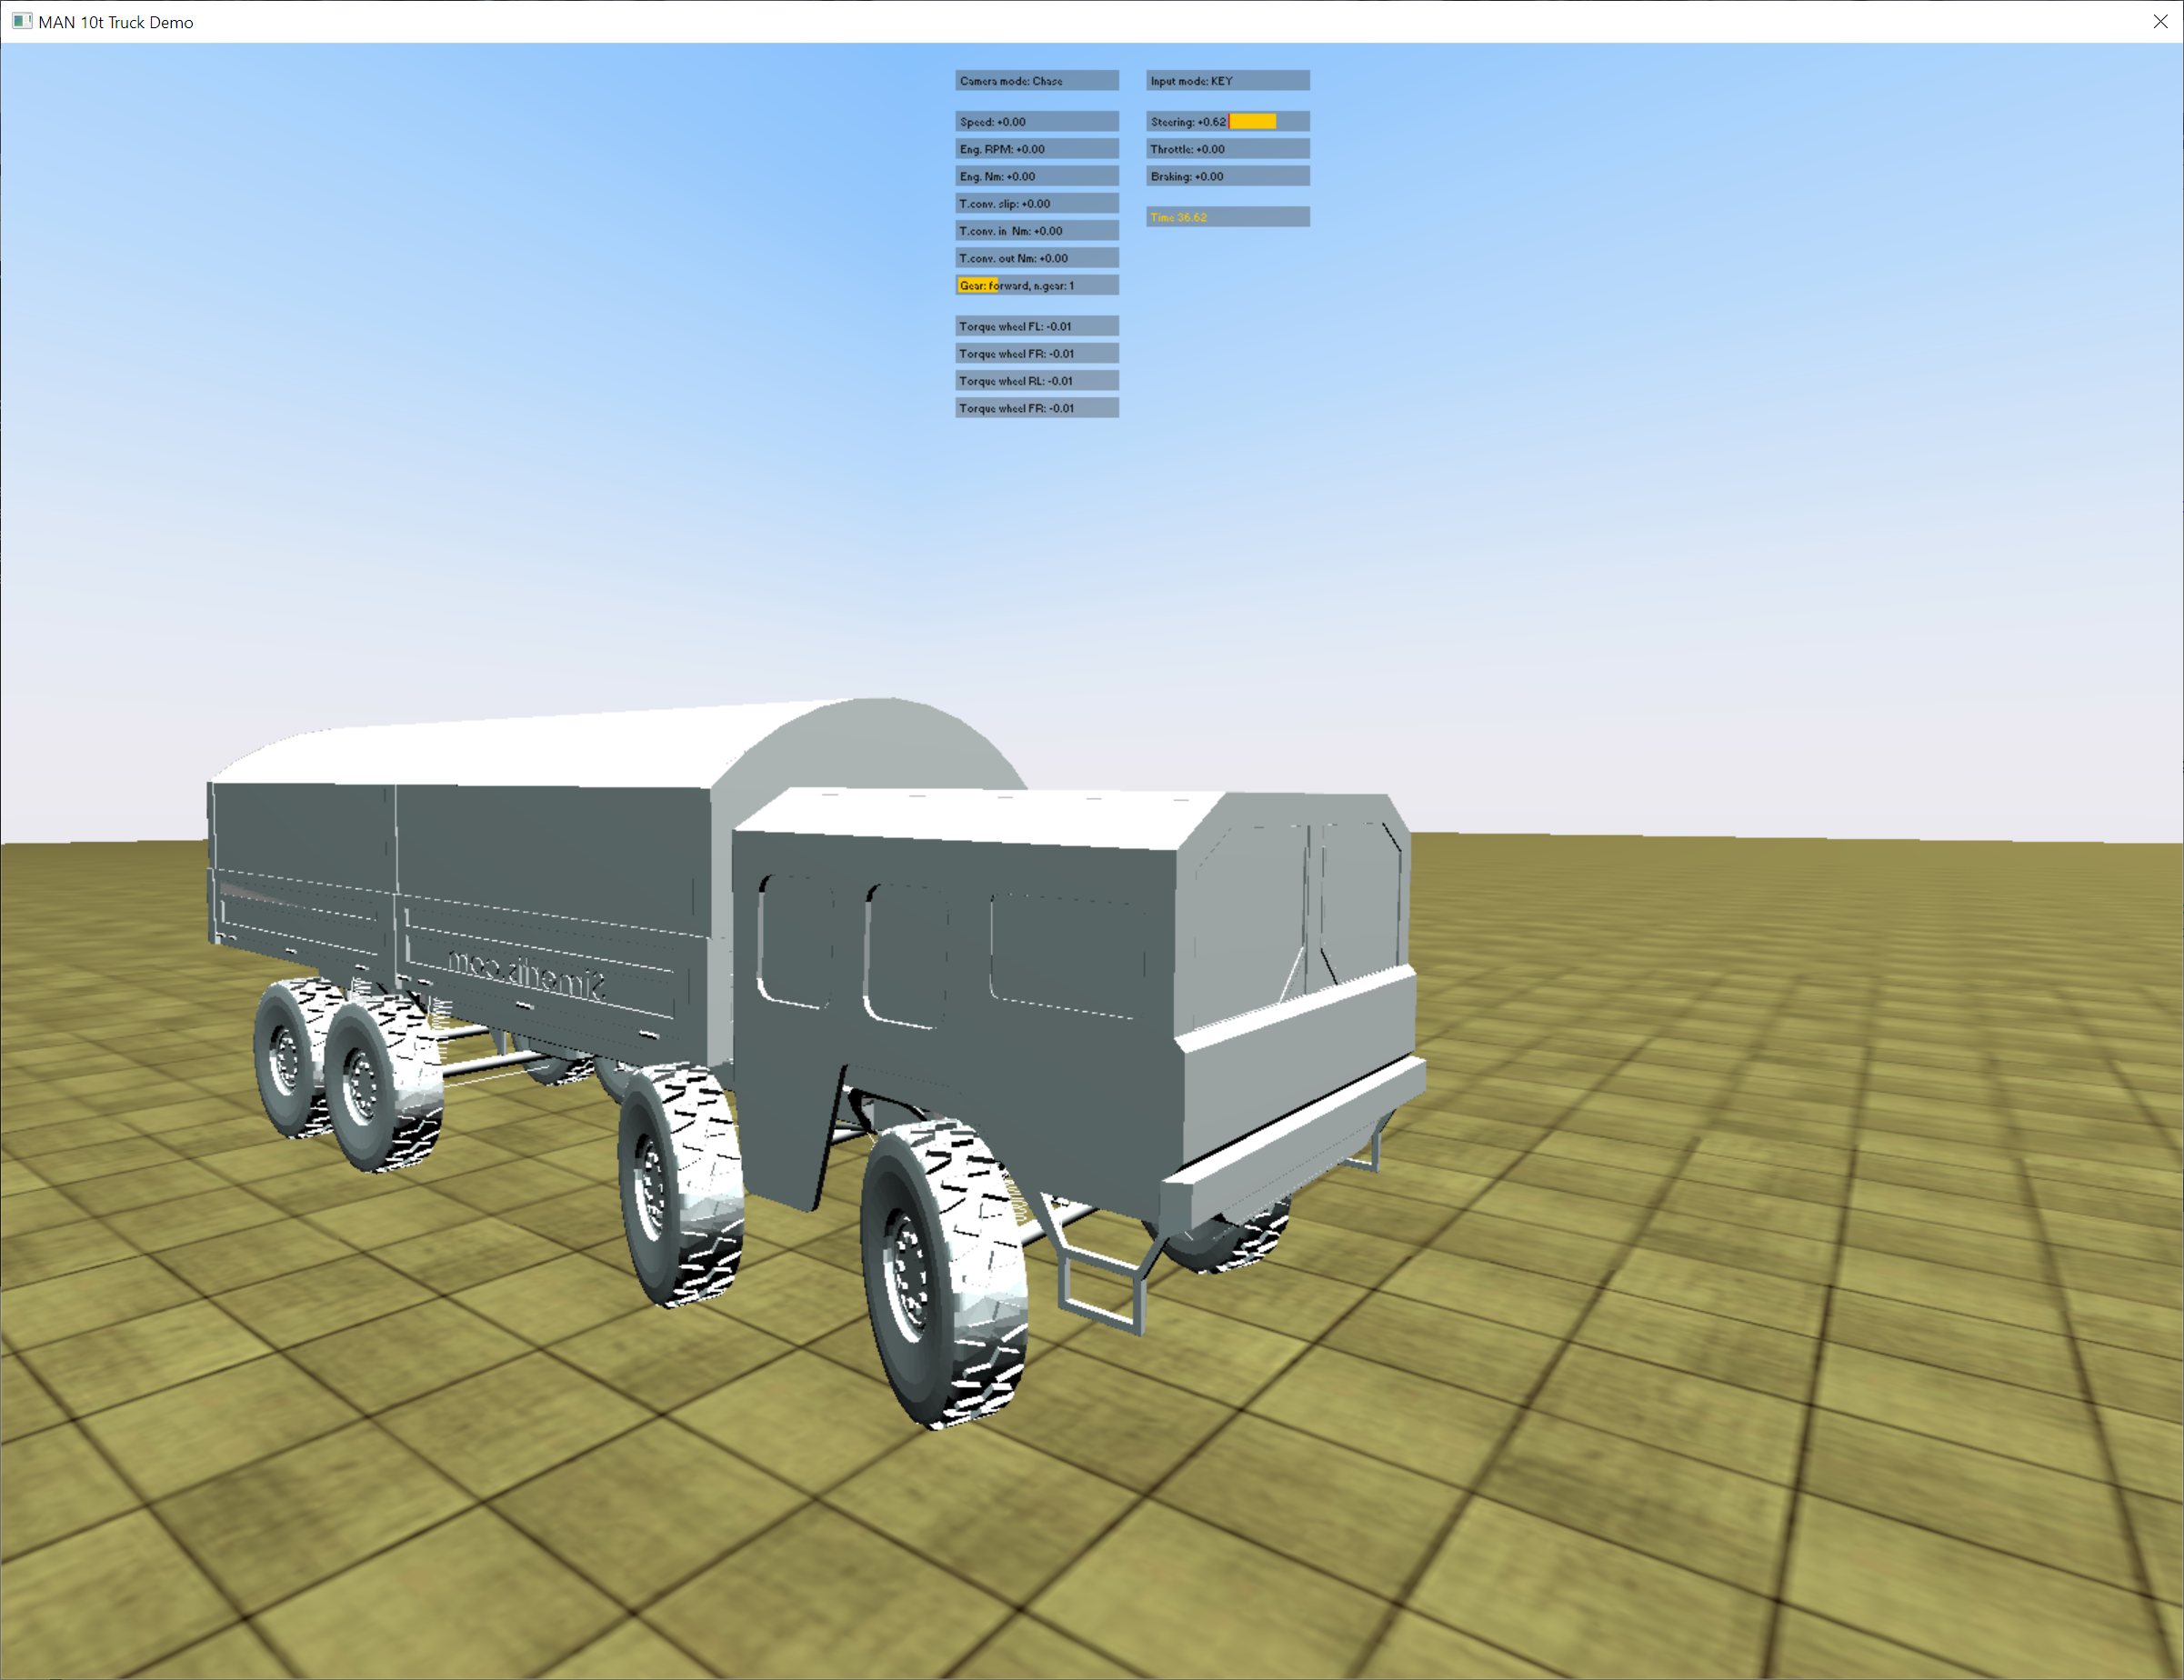
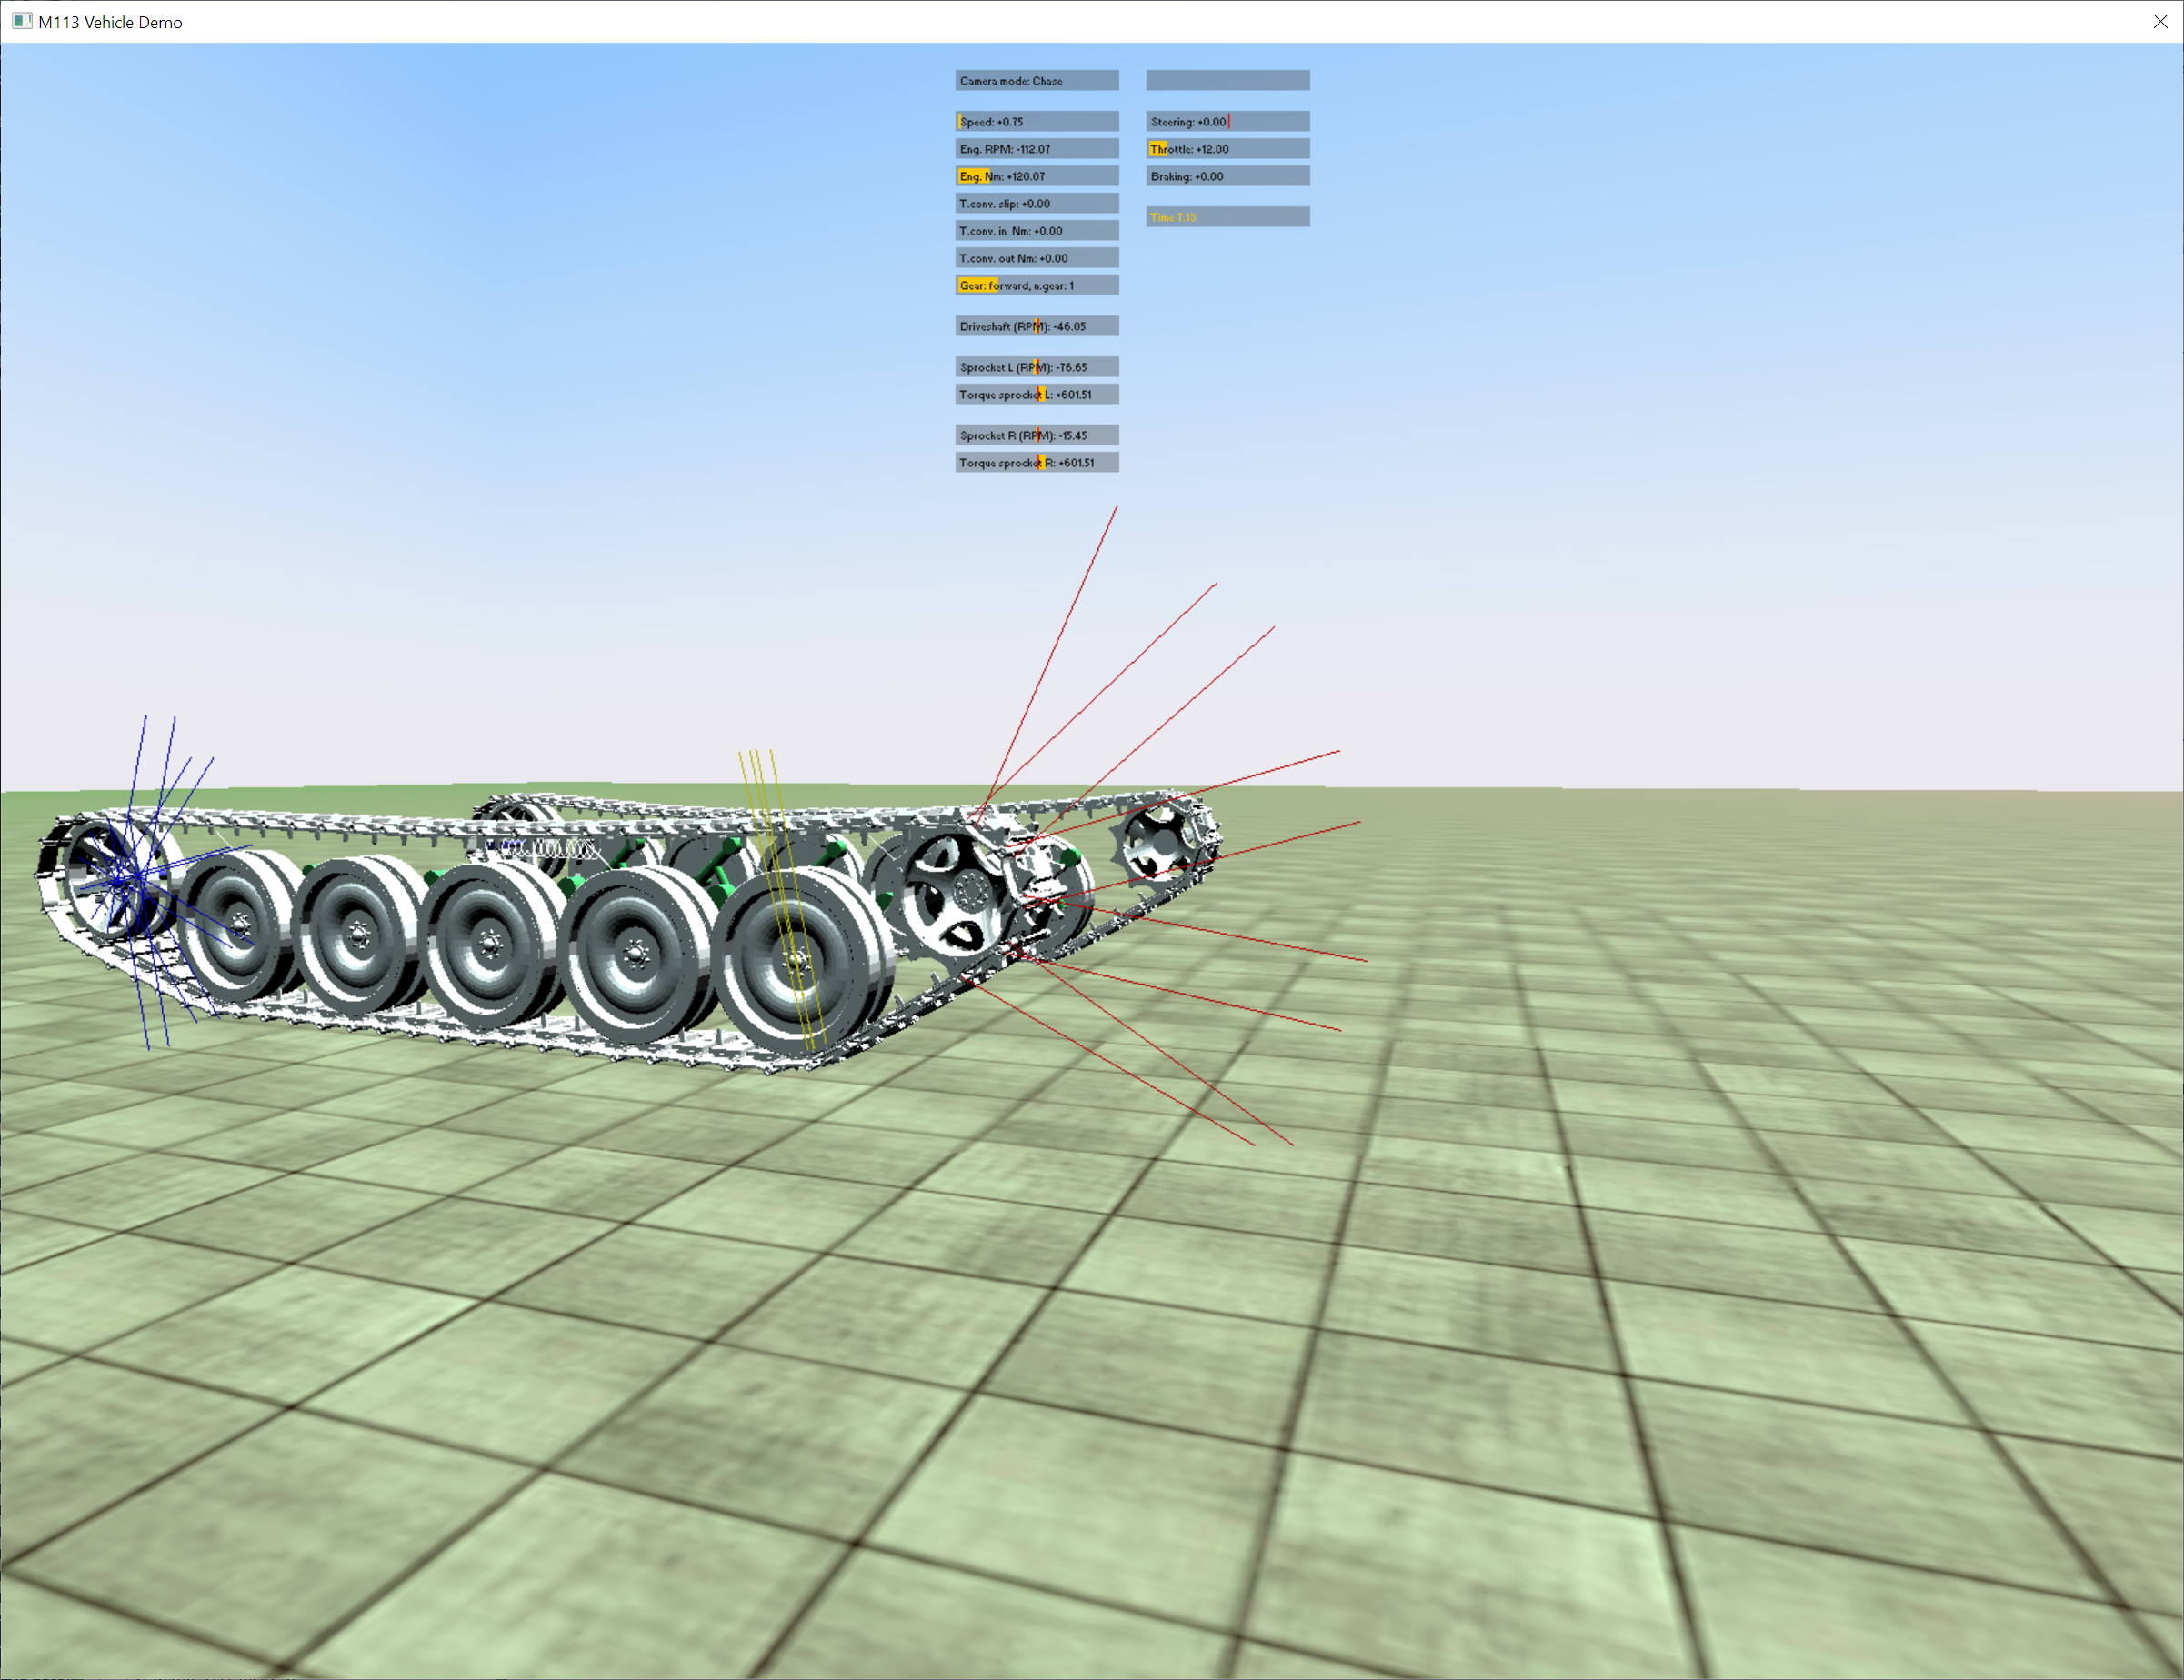
- displaying additional (vehicle-specific) statistics, such as vehicle speed, current driver inputs, powertrain torques, wheel and sprocket torques, etc.
- rendering of specified contact forces (tracked vehicles)
The following images are snapshots from Chrono::Vehicle simulations.

OpenGL-based run-time visualization
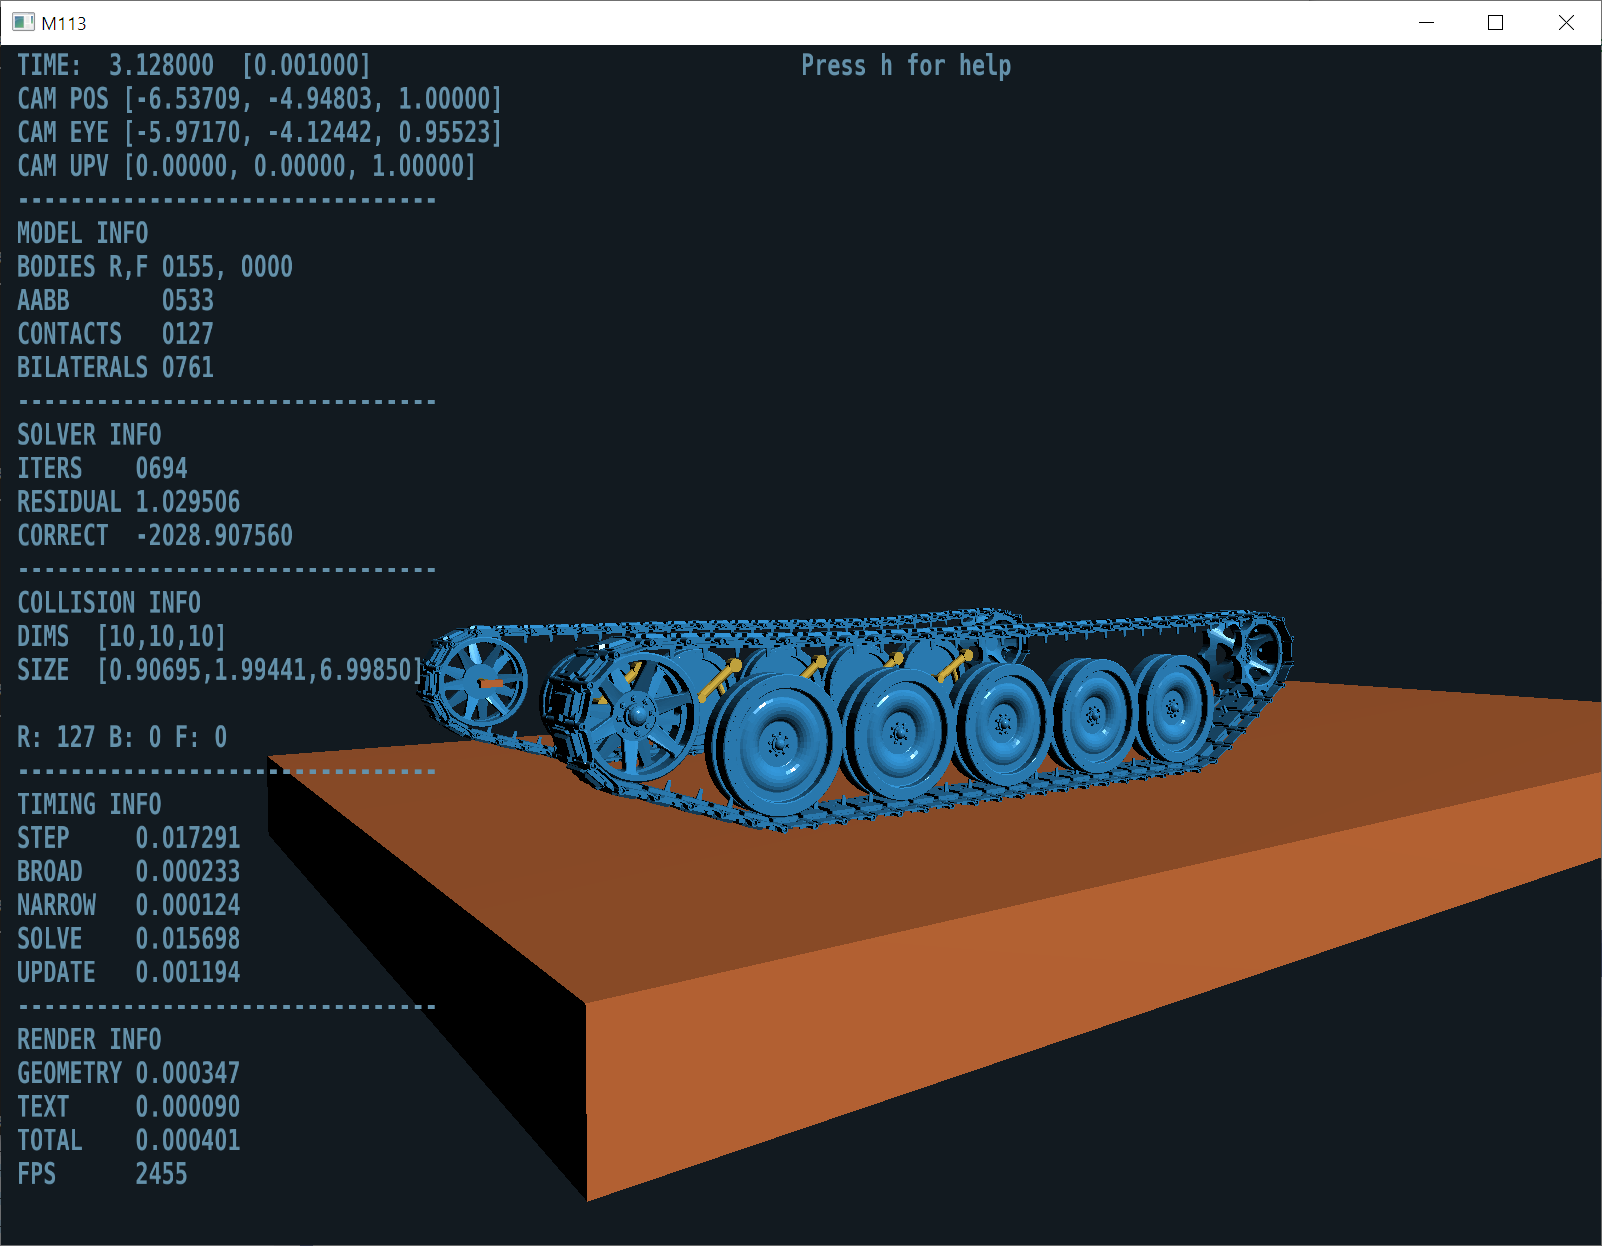
Chrono::Vehicle simulations can also be visualized at run-time using the Chrono::OpenGL module. This provides a more expeditious and computationally more efficient visualization, especially for large-scale simulation (such as those involving a vehicle interacting with granular terrain).
The following images are snapshots from Chrono::Vehicle simulations.

Off-line rendering with POV-Ray
Off-line rendering requires the following steps:
- collect system data at each frame to be rendered
- optionally, prepare mesh data files in a format specific to the desired rendering engine
- post-process data files to render the scene at each frame
- optionally, combine multiple frame images into an animation
Chrono::Vehicle provides limited support for this workflow model and the POV-Ray ray-tracing program.
Preparing output data files
- At each simulation frame that needs to be post-processed, call the function WriteShapesPovray.
- This function will output a comma separated value (CSV) file with a user-provided name containing.
- The output file contains information on all bodies in the Chrono system (positions and orientations), all associated visualization assets (position, orientation, type, and asset-specific parameters), and selected types of joints. Note that mesh visualization assets are identified through their respective mesh name.
Preparing mesh data files
For rendering with POV-Ray, the Wavefront OBJ file corresponding to a mesh visualization asset must be converted to a macro in a POV-Ray input file. This can be done by
- using the function WriteMeshPovray
- using a specialized tool such as PoseRay
If using the rendering script described below, these mesh macro POV-Ray input files are expected to have a name identical to the corresponding mesh name. Furthermore, such a mesh POV-Ray input file must define a single macro (with the same name as the mesh name); as such, files generated by PoseRay need to be manually edited (see the examples provided with the Chrono distribution, for example data/vehicle/hmmwv/POV-Ray/hmmwv_chassis.inp).
Post-process files with POV-Ray
The Chrono distribution includes (in the directory src/demos/vehicle/) a sample POV-Ray script (renderZ.pov) which can be used for (batch) processing of output data files in the format generated by WriteShapesPovray. This script assumes that all data is provided in a right-handed frame with Z up (ISO reference frame) and performs all required transformations to POV-Ray's Y-up left-handed frames.
This script provides the following user controls:
- render a single frame or a sequence of frames (batch processing)
- turn on/off rendering of body reference frames
- turn on/off rendering of the global reference frame
- turn on/off rendering of assets
- turn on/off rendering of assets fixed to ground
- turn on/off rendering of supported joints
- turn on/off rendering of springs and dampers
- specify dimensions of geometric shapes representing joints
- camera location and look-at point
- enable/disable shadows
- optionally render environment (ground and sky)
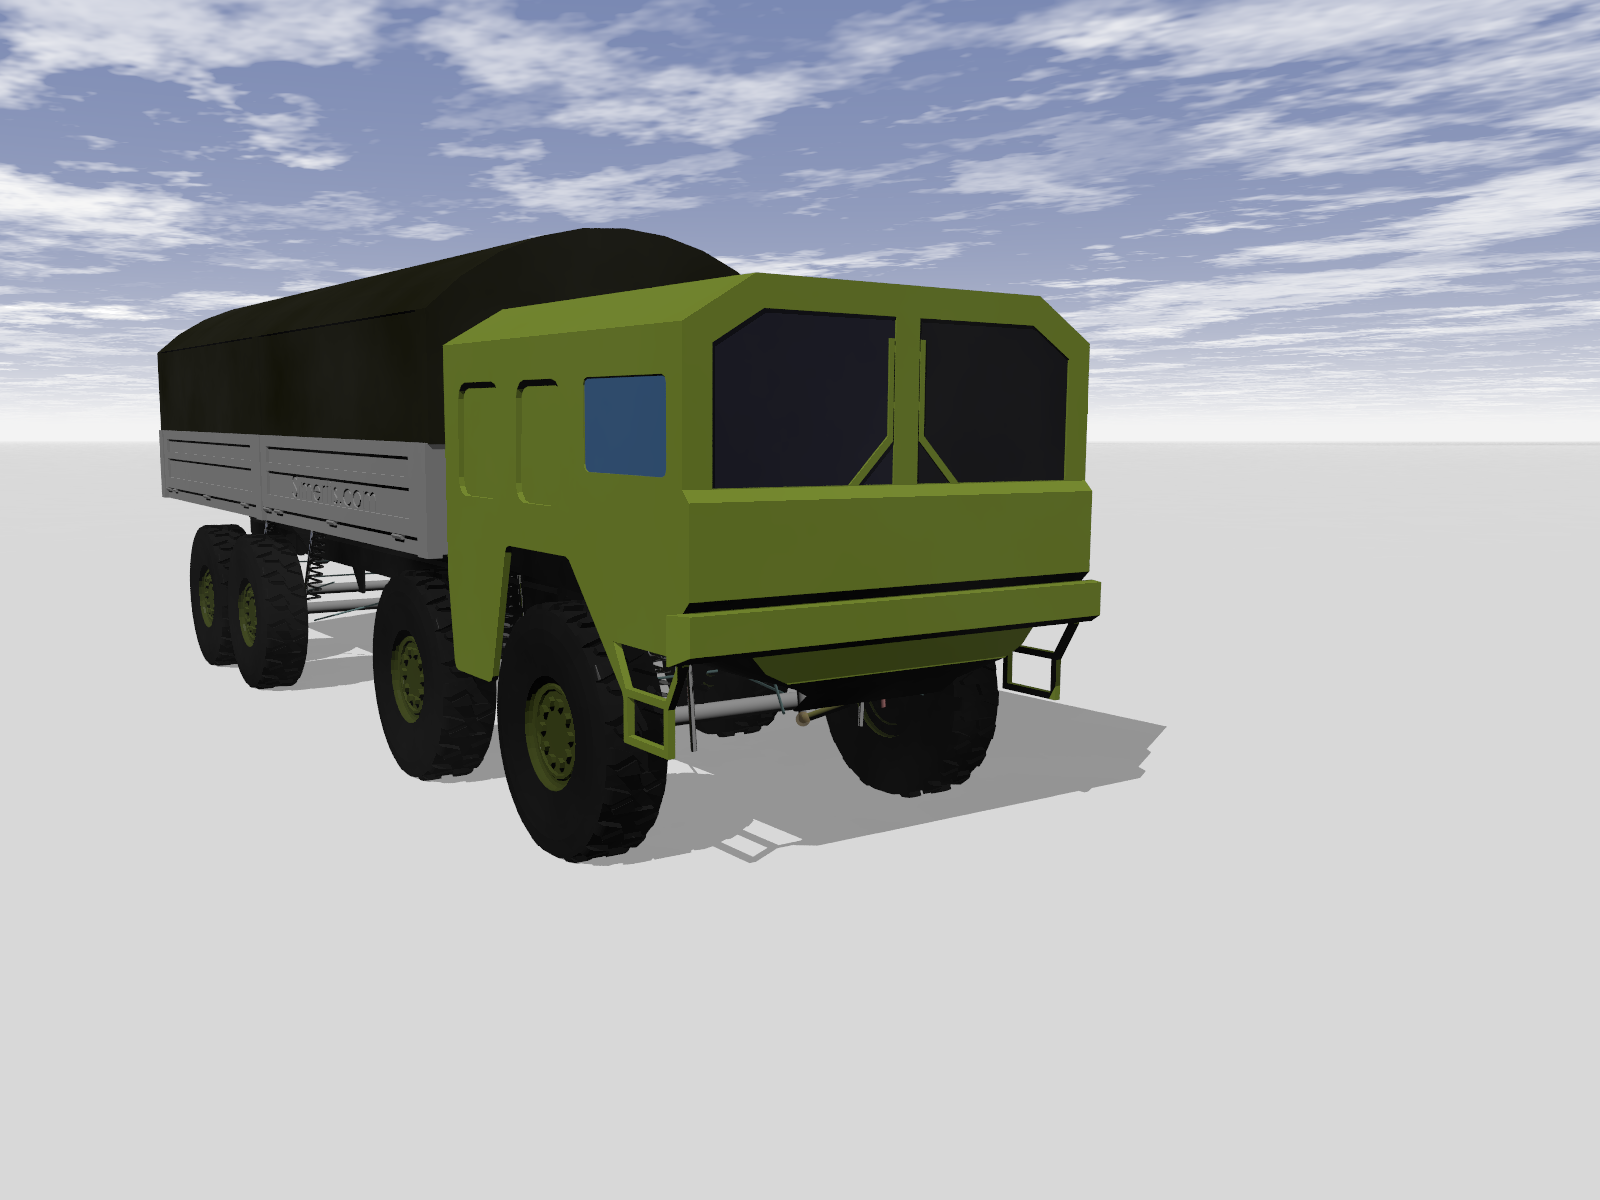
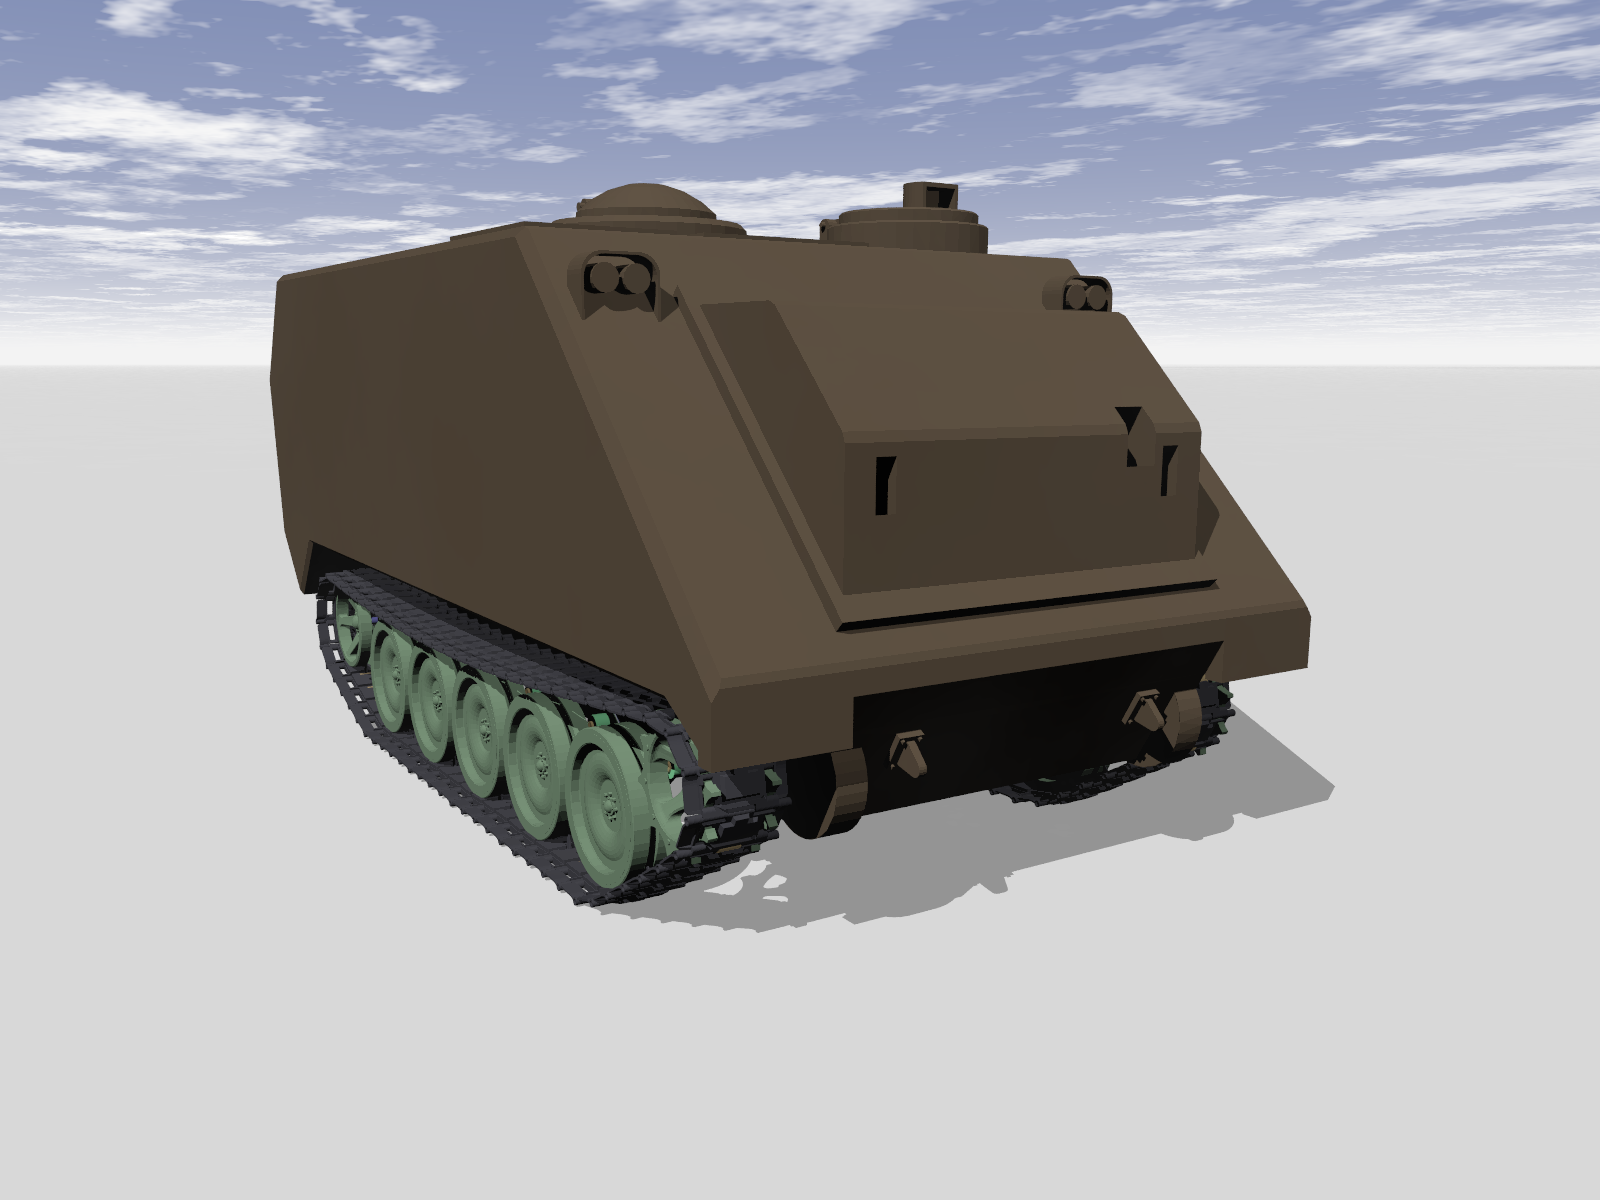

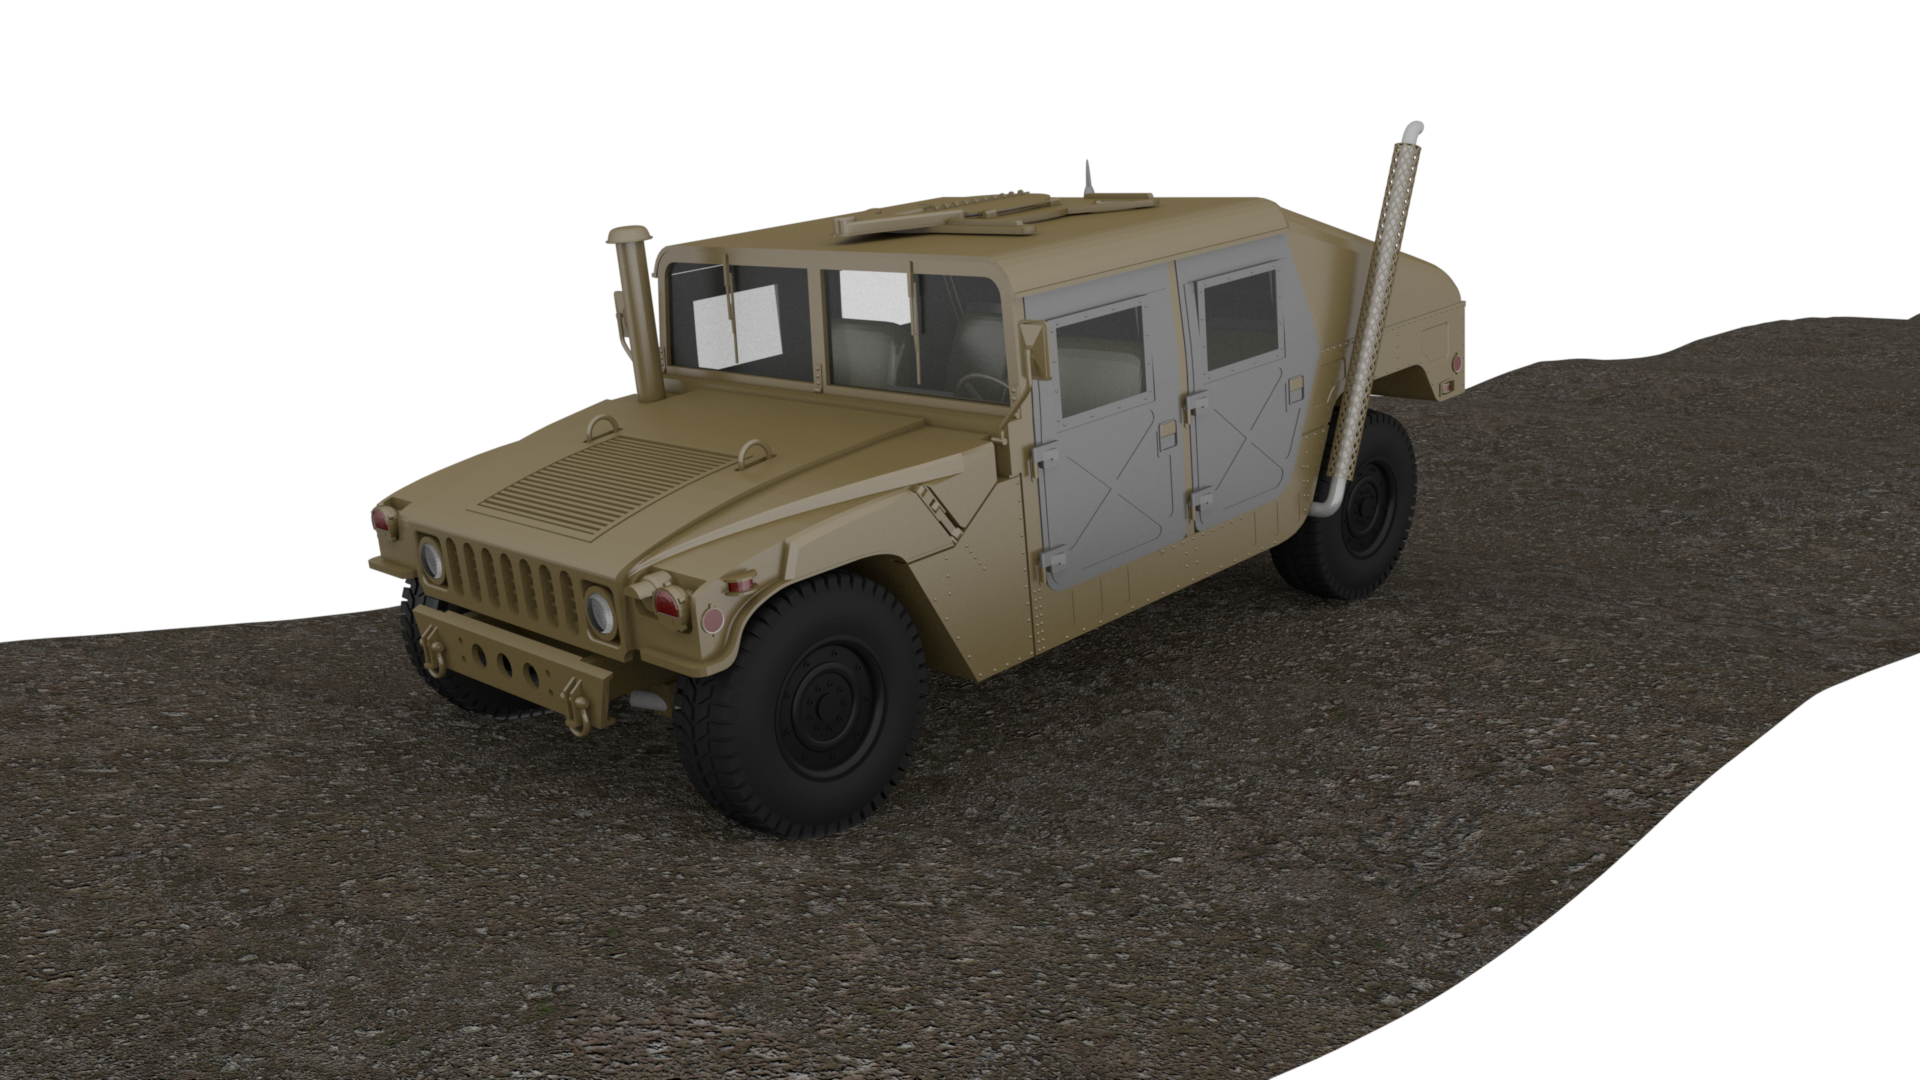
Note that the renderZ.pov script is provided only as a starting point. More complex and photo-realistic images can be generated with POV-Ray, using more sophisticated materials and environments.
Finally, a similar workflow can be used to render with different engines, other than POV-Ray. For example, the image below was generated, using a data file generated by WriteShapesPovray but using the Mitsuba engine.